An Advent series - Adding page approval to the policies site in Modern SharePoint
Modern SharePoint Page Approvals have really added to the possibilities of modern pages for real life situations, especially where teams want to control the content that is displayed to all. With classic pages, you could use the default publishing or use the clunky SharePoint Designer Workflows but now the Flow backed approvals are far easier.
Setting up page approvals
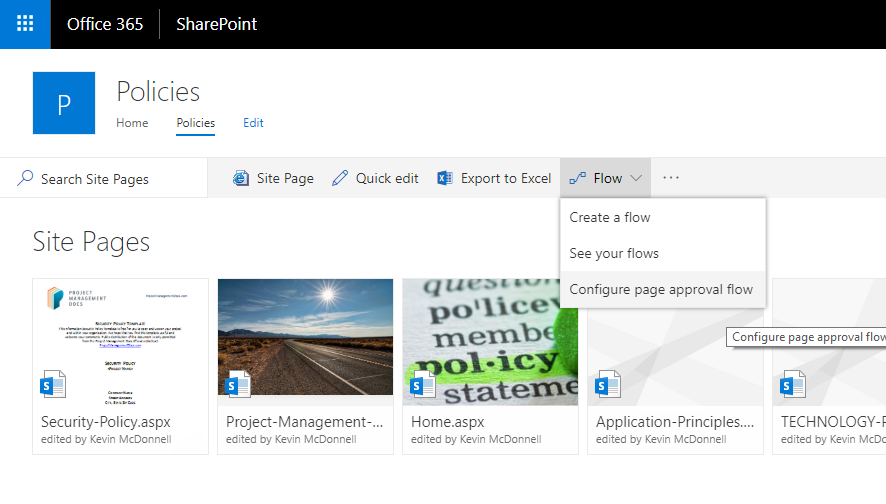
To set up an approval process on your Pages library, you navigate to that library and expand the Flow menu.
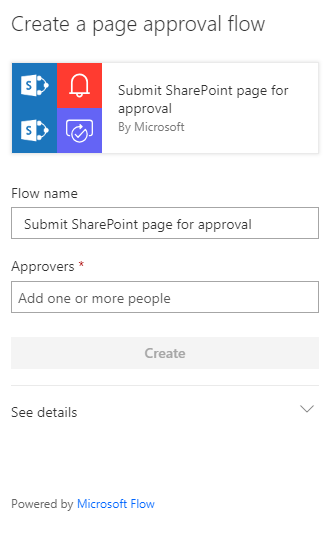
You can then configure the name of the flow and who the approvers should be. Expanding details shows the connections that are either used or set up if they do not already exist.
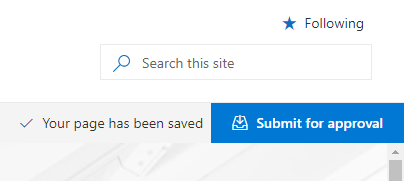
You now have a flow set up. Any amendments you make to a page now show the option to Submit For Approval instead of just saving.
Once clicked, you must enter some approval comments and then wait for the approver to get moving. If you happen to be the approver, you can approve the page straightaway by clicking on Review Approvals and reviewing the approval.
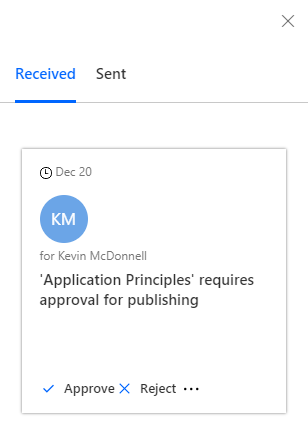
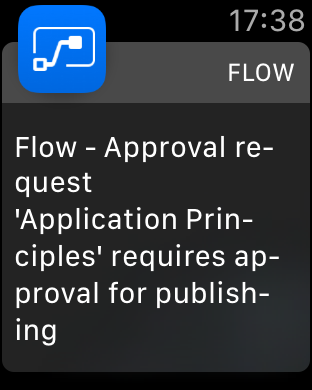
If you have the Flow App on your phone, you get a notification that you can approve there and then. If you have an Apple Watch, you get even more interupted!
The approver can reassign or add comments before approving or rejecting. It's as simple as that. But what if you don't want it to be as simple as that?
Customising the Flow
What about if you wanted two levels of approval? Or what if there are different approvals depending on the department selected? The great news is that you can configure the Flow once it is created. Navigate to https://flow.microsoft.com and you will find the Flow that you created under My Flows.

Editting the Flow, you can add a condition to send an approval based on the Relevant Department.
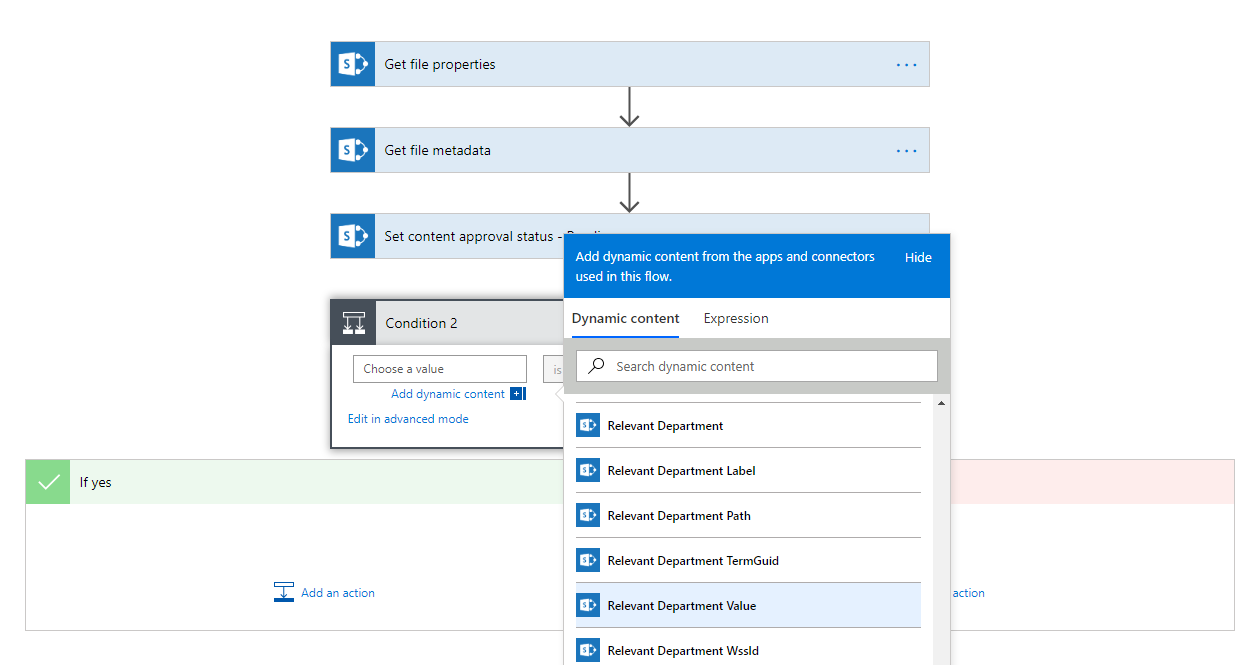
This means that you can extend the logic or change the details as needed.
With all these in place, we have met all the requirements I spoke about in the previous post. Next, it's time to look at some customisations.