Installing the Daily Bing Challenge Bot - Bot Series Part 2
The previous post in this Bot Series covered what the Daily Bing Challenge Bot is and where it came from so now I will cover how you can use it. This is a technical post and there are quite a few steps at the moment. I may look to create an ARM template and remove the need for Google API at a later date but for now, here is how you can have your very own Daily Bing Challenge Bot.
In a few areas, I point to other documents or blogs with how to do things (like create a Bing Maps API). The reason for that is they can often change so I want to ensure that it has the latest info.
What has to be done
To get the Bot in place, the following steps are needed:
- Create Azure Bot Service including the App Insights
- Create an Azure Storage instance
- Create a Bing Maps API Key
- Create a Google Places API Key
- Clone the code from Github
- Update the app settings
- Test locally
- Publish to Azure
- Add to Microsoft Teams instance
So let's go through those step by step. These steps do assume a working knowledge of Azure but send me a tweet if you have any questions.
If you just want to take a look at the code, you can find it here - there will be a later post describing the code itself.
Create Azure Bot Service
To deploy the Bot, you will need an Azure Subscription. I have used free services as much as possible or low cost for low usage such as Azure Storage. However, I cannot guarantee the costs involved.
- Create a new Resource Group
- Add a new service to the Resource Group, searching for "Web App Bot"
- Fill out the details as in the image below - you can use free pricing tier
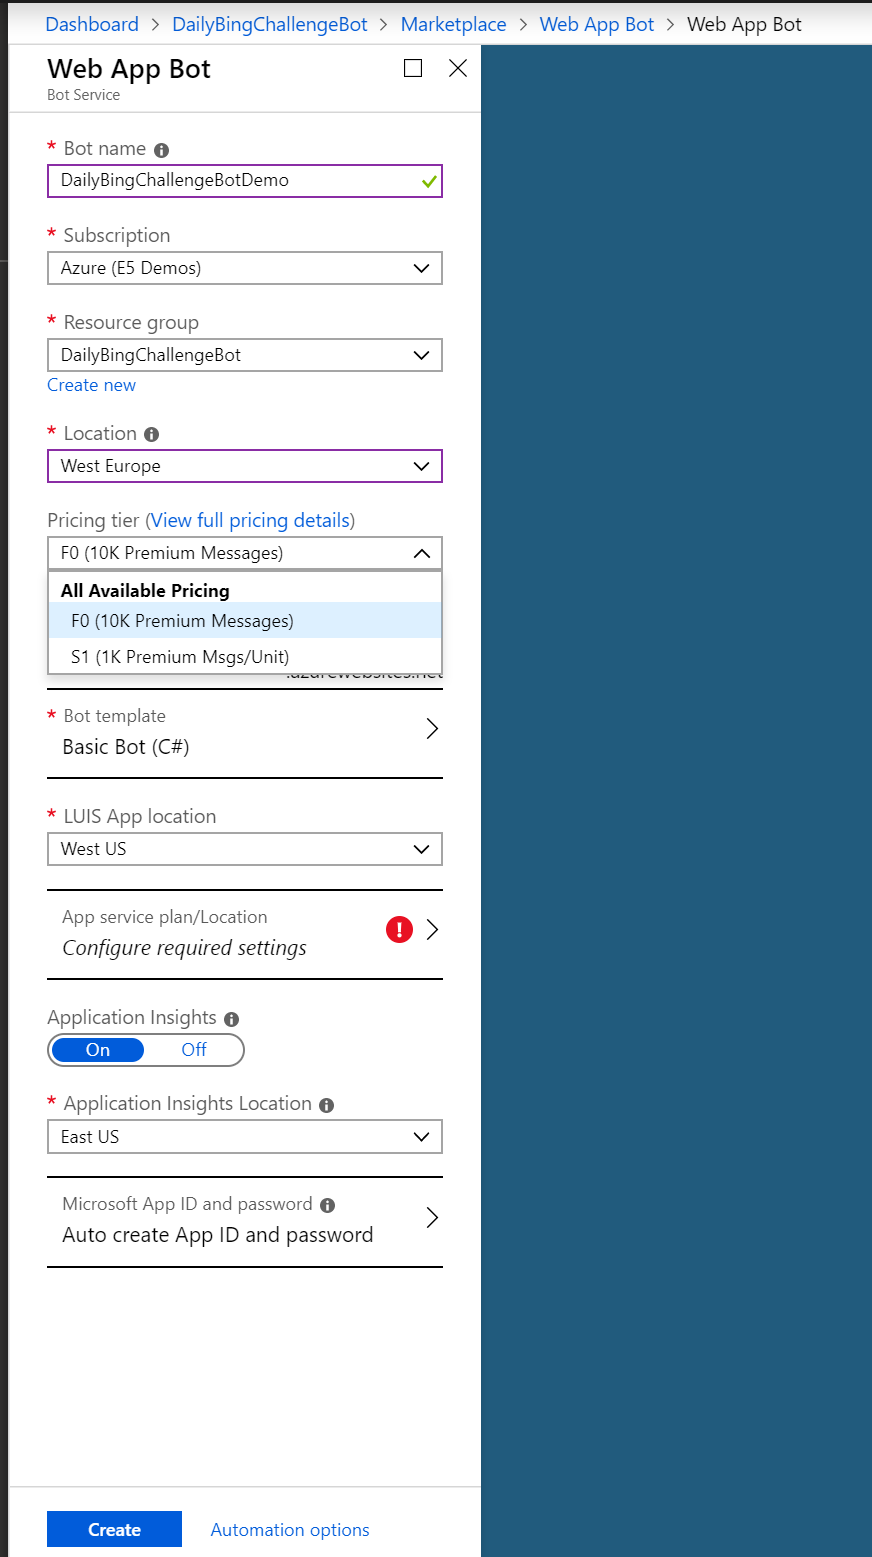
- Choose the default Bot Template

- Create a new Service Plan but note that it defaults to S1 - this can be reduced to the free tier.
- Include App Insights
- Let the App ID and Password be autocreated
- You may need to enable some Resources which can be done by:
- Selecting Cost Management + Billing from the left menu (or under All Services if not available)
- Select your subscription
- Select Resource Providers from the left menu
- Search for the resource that requires registering and select Register
- Wait for the resources to be completed
Create an Azure Storage instance
- Return to the Resource Group and add a new service
- Search for "storage account"
- Choose Standard performance
- Choose Storage V2
- Choose Locally Redundant Storage (unless you want to pay more for extra redundancy)
- Choose Hot Access Tier

Once created, you need to create a table called DailyBing (or if you call it something else, note it down for later)
Create a Bing Maps API Key
To get a Bing Maps Key, follow the instructions here and then keep hold of the key for a later step.
Create a Google Places API Key
- Click on Get Started at https://developers.google.com/places/web-service/intro (you will need to sign in with a Google account)
- Select the Places API
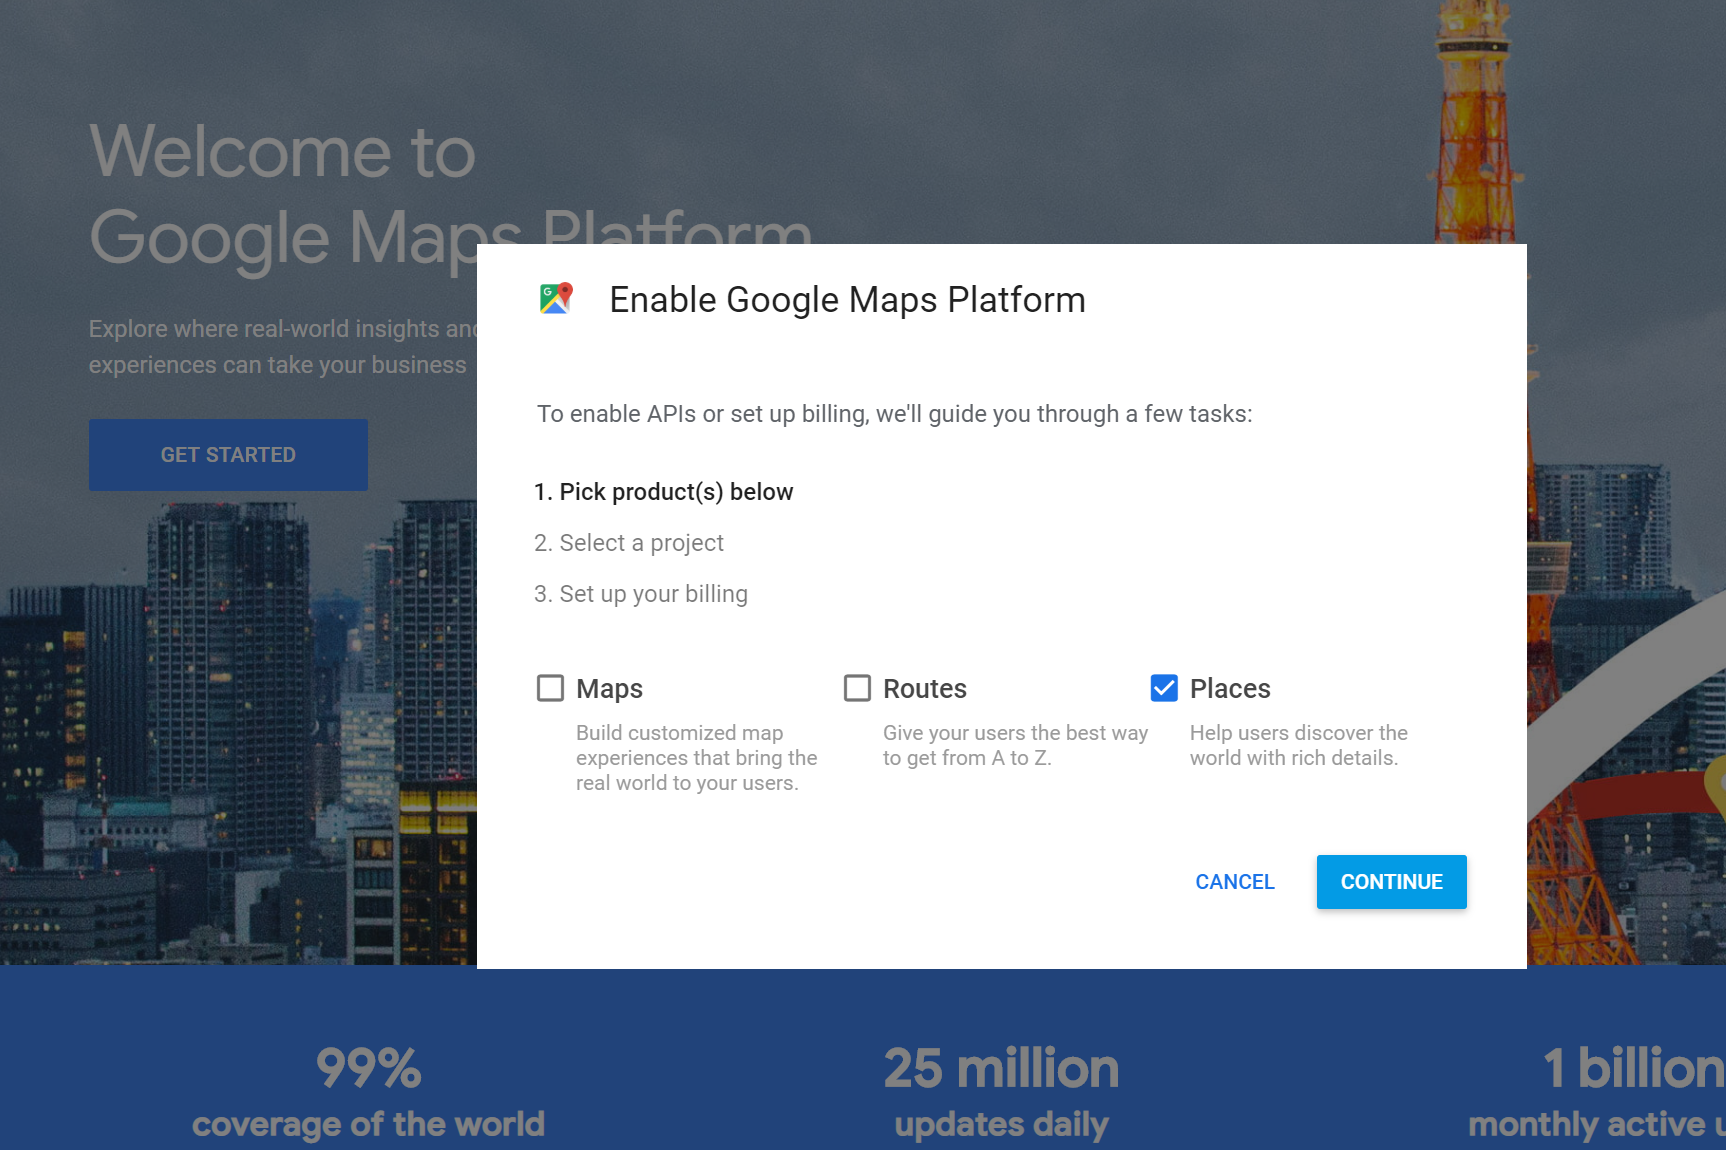
- Add a project name and agree to the terms of service
- Sign up to a free account - you will have to enter a debit or credit card but no charges will be made unless account upgraded to full account
Keep the API key for later steps.
Clone the code from Github
Clone the code from https://github.com/kevmcdonk/DailyBingChallengeBot in whichever way you like.
Update the app settings
In the code, there is an appsettings.json file that should be full of empty strings - if it isn't, please let me know so I can remove any keys I have left in!!!
Here are where you get the settings from:
- Add the Microsoft AppId Microsoft App Password, Luis API Hostname, Luis API Key and Luis App Id created for the Bot Service
- In the Azure Portal, go to the Web App Bot created
- Click on Configuration on the left menu
- Show Values and then copy the values across
- Add the storage connection string
- In the Azure Portal, go to the storage account created earlier
- Click on Access keys in the left menu
- Copy the Connection String for Key1 to appsettings.json in DailyBingTableConnectionString
- Add the Table name
- In the Azure Portal, go to the storage account created earlier
- Click on Table in the left menu
- Copy the name supplied in to appsettings.json in DailyBingTableName
- Add the App Insights Instrumentation Key
- In the Azure Portal, go to the App Insights instance created
- From the default Overview page, copy the Instrumentation Key
- Paste it in appsettings.json under the INstrumentationKey area
- Add a Bing Maps API Key
- Copy the key created earlier in to appsettings.json under BingMapsAPI
- Add a Google Maps API Key (yes, at the moment it uses both! The photos were better in Bing)
- Copy the key created earlier to appsettings.json in GoogleMapAPI
Test locally
At this point, everything should be working. Now is the time to test that theory!
- Build the code and confirm that it compiles without errors
- Run the web project
- Use the Bot Storage Emulator to test the results locally
At the moment, it will still write the results to Azure Storage but you could update the appsettings to use a local storage emulator instead. You can test by following some of the steps in the previous post and can even debug each step to understand what is happening.
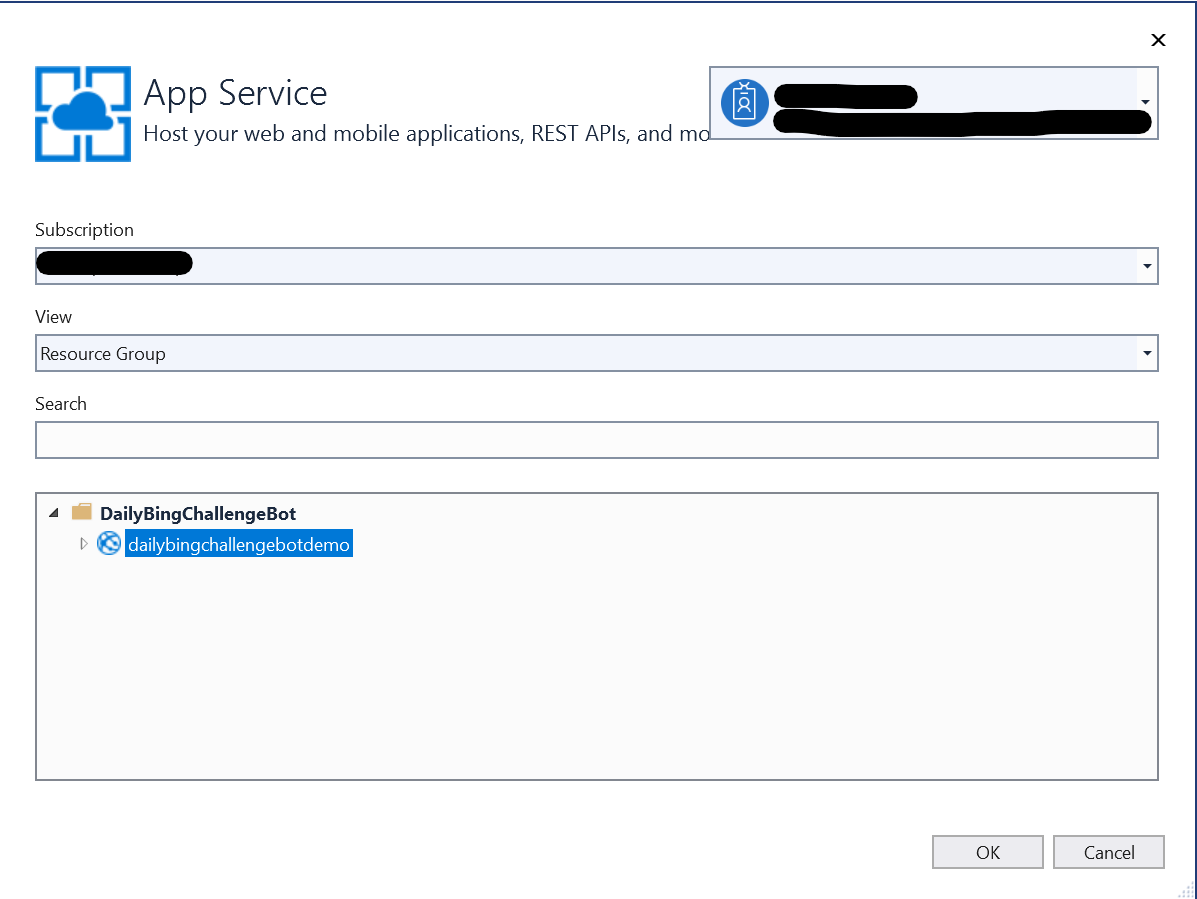
Publish to Azure
If all is working well, right click on the project in Visual Studio and publish to Azure, following the wizard instructions
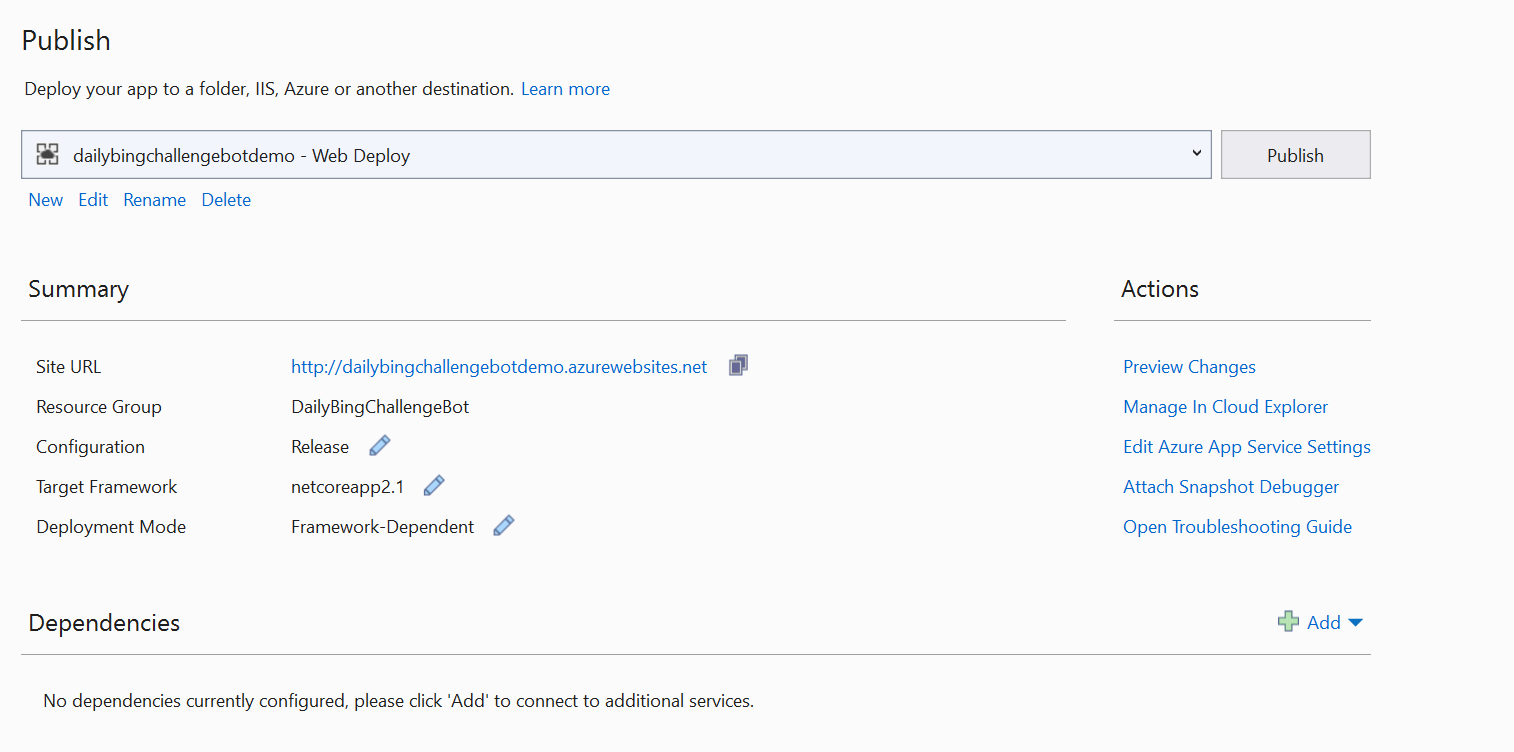 
You can then test with the emulator again or proceed to deploy the bot to Teams
Add to Microsoft Teams instance
The final step is to deploy the Bot in two Microsoft Teams. The simplest way to do this in order to test is to click on the edit icon next to the Teams search box and enter the Microsoft App ID for the Bot

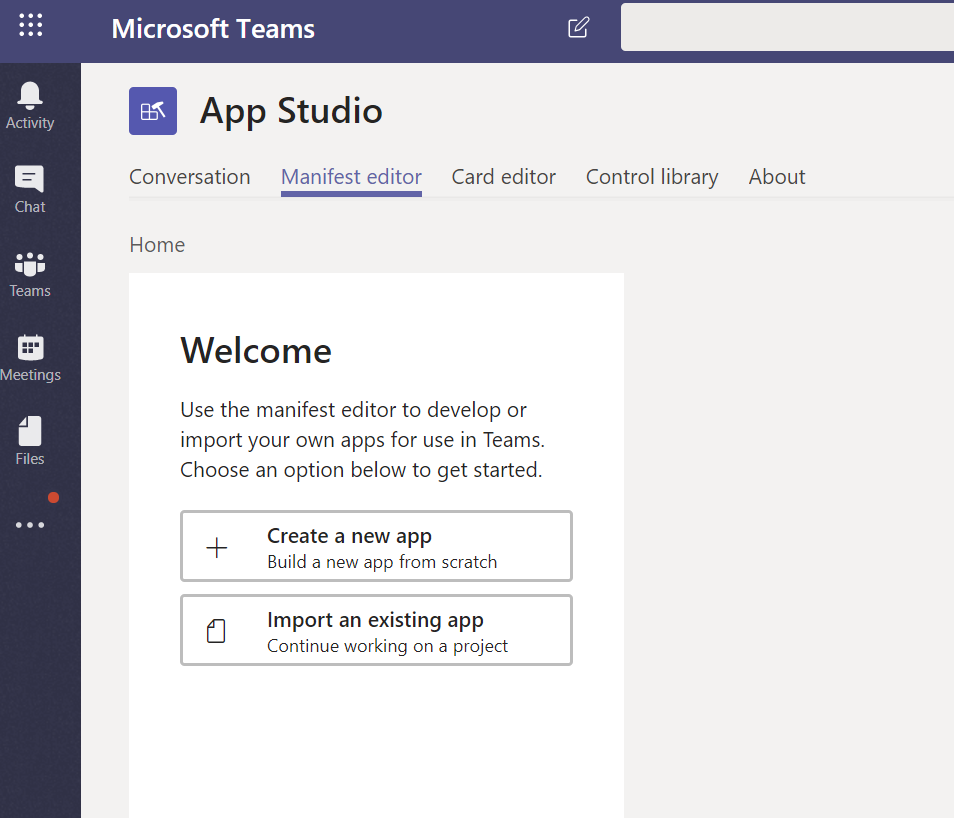
To deploy for a Channel to test, you first need to add the app App Studio by clicking on Apps in the bottom left and searcing for App Studio
- Once added, select the Manifest Editor Tab then Create a New App
- Give it a short name like BingBot and a Long Name of Daily Bing Challenge Bot
- Paste your Microsoft App ID in to the App ID field and give it a suitable package name and version e.g. com.me.myapp.bingbot v1.0.0
- Think up a suitable short and long description (note that they must be different!)
- Enter our name and website in the developer info
- Enter the App URLs with details of privacy and terms of use policy (if internal, a SharePoint page would work well)
- Upload an icon, a transparent icon and pick an accent colour
- Slightly confusingly, you then need to select Bots from the left Menu under Capabilities
- Click on Set up and choose Existing Bot
- Give the name and the Microsoft App Id and then tick Personal, Team and Group Chat, leaving the others blank
- If you want to, you can add a command to make it easier to ask for the start
- Click Add under Commands
- Enter the text "Check Daily Bing" in Command Text and "Trigger the Bot to start the daily challenge" in Help text
- Tick all three Scope boxes and click Save
- On the left menu, select Test and distribute and then Install your app in Teams for Testing
- Search for a Team in "Add to a team or chat"
- Pick the Channel and then click Setup
- It is now set up to Test in Teams but for it to respond, you also need to enable Teams as a channel
- Navigate to the Azure Portal and go to the Bot
- Click on Channels in the left menu
- Select the Teams logo from "Select a featured Channel"
- Click on Save
- It can sometimes take a few mins for the first response
Wrap-up
After all that, you should have a working Bot! If you don't, the first ports of call are the App Insights logs in Azure or the Web Service logs - these should give an indication of what is wrong. Feel free to log an issue in the Github repo if you are having any other issues.
Header photo by Xi Wang on Unsplash